Extracting clips
Extracting clips needs ffmpeg to be installed.
Extraction
- Drag across the time ruler at the top of the timeline to select a span. The header shows the start, the end and the duration.
- Choose extract clip.
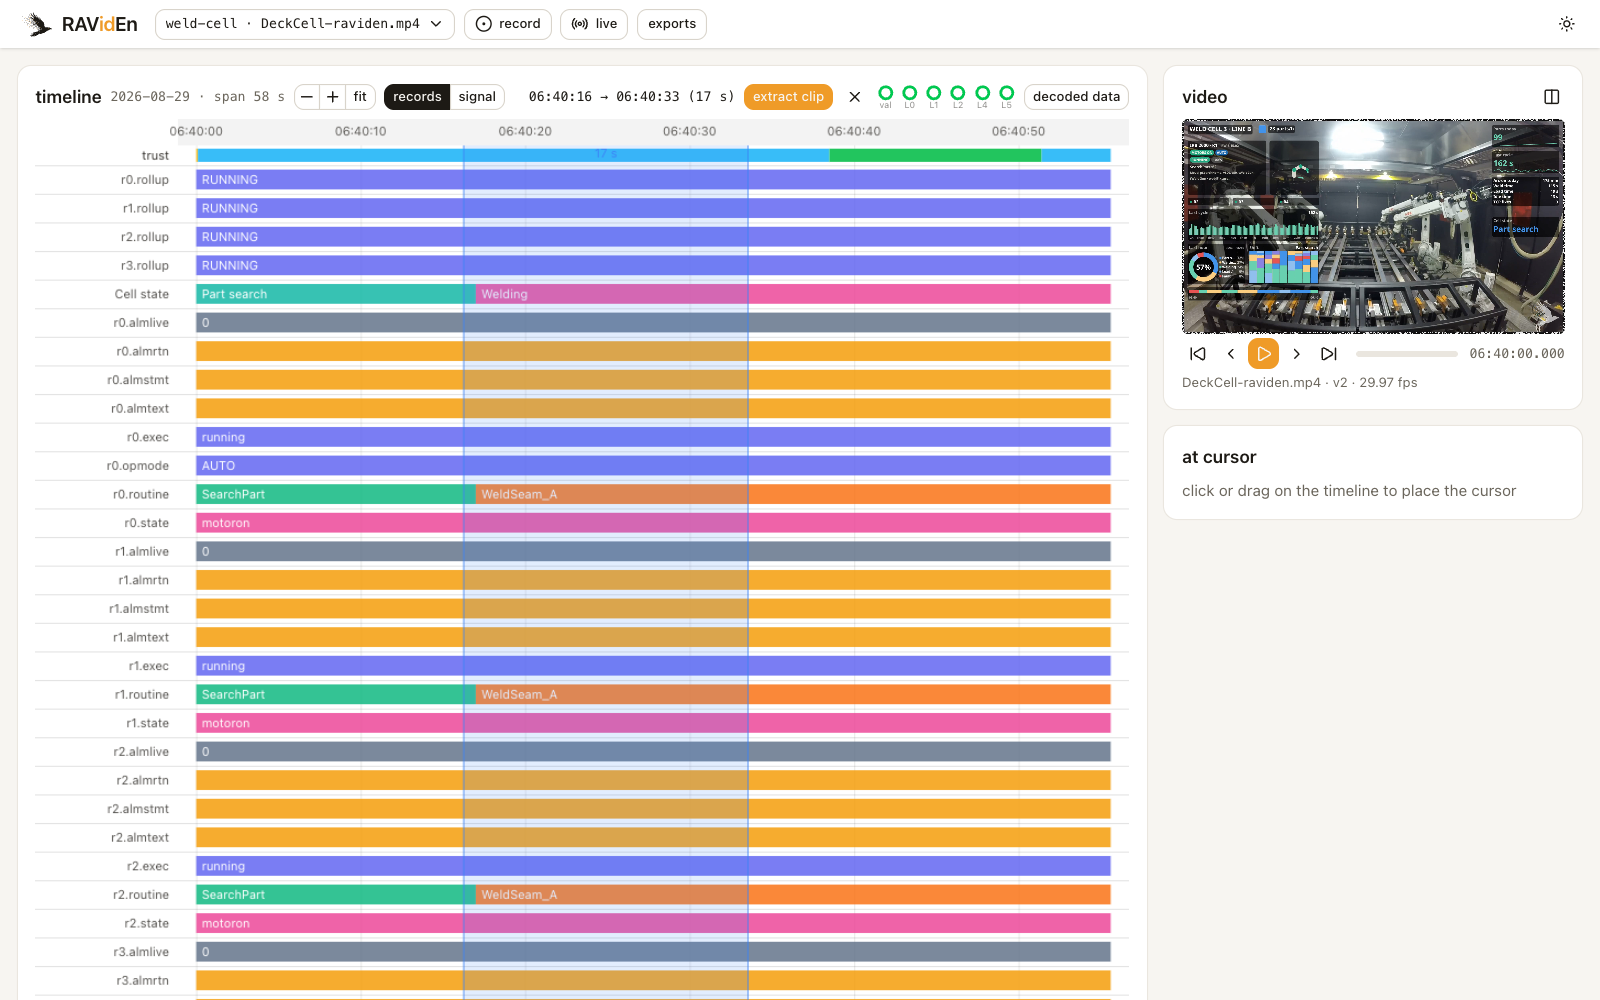
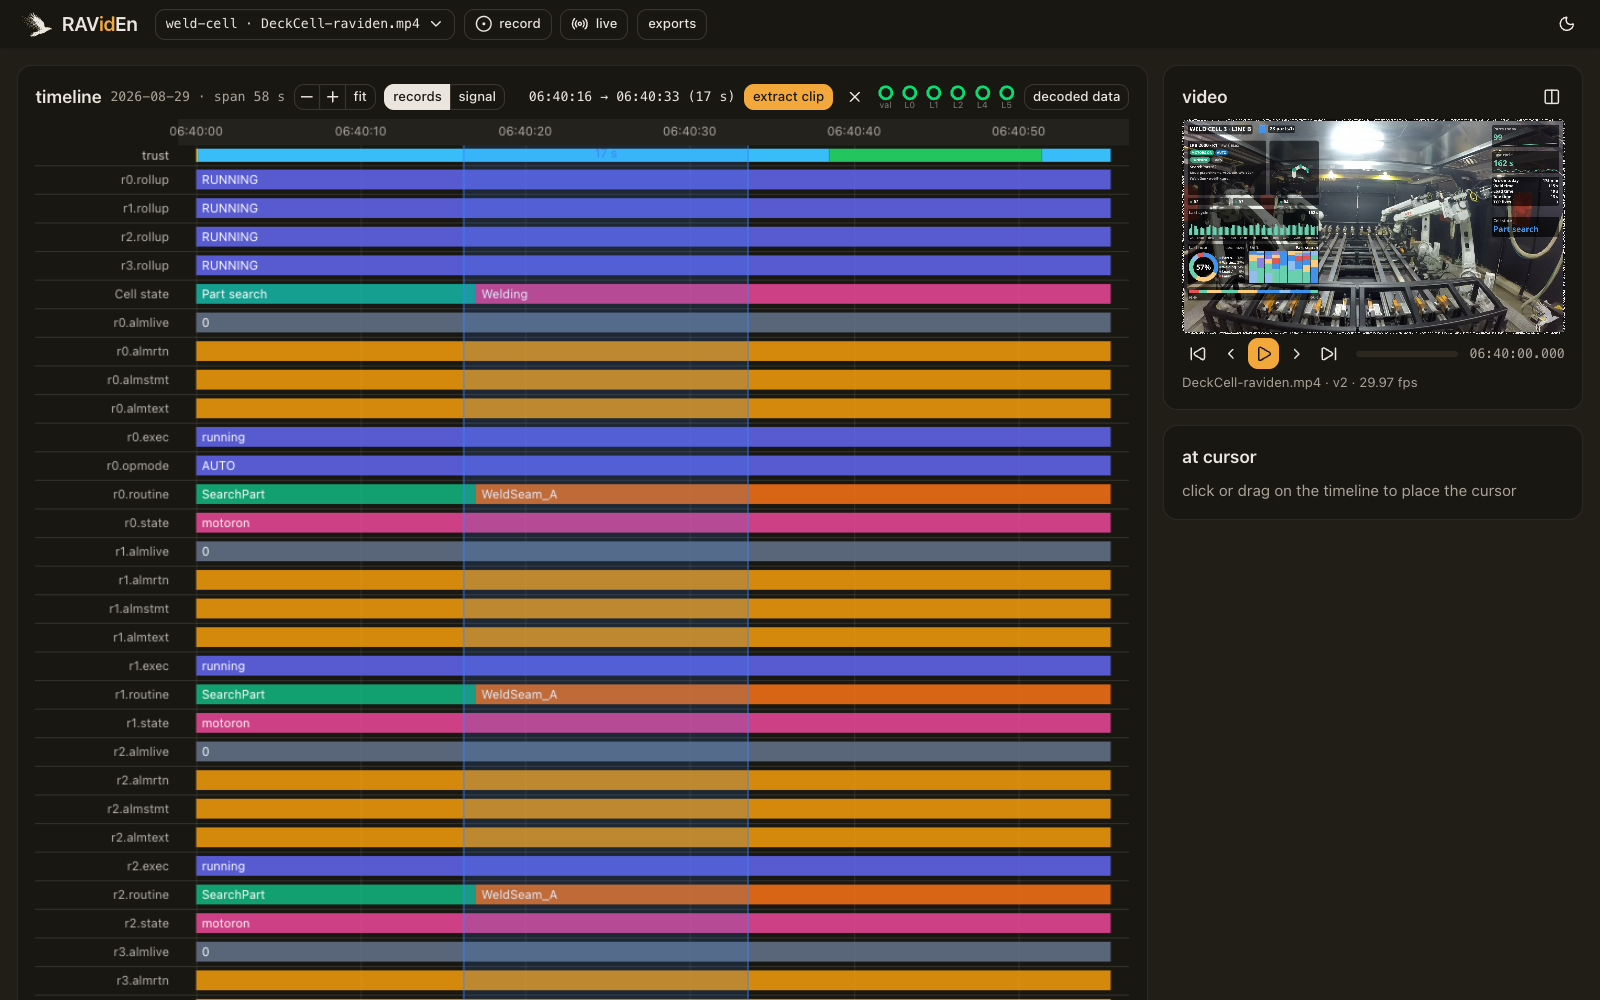
The clip is cut without re-encoding, so every frame is exactly as the camera produced it and the DataBorder inside it is intact. Cuts are made at the keyframe at or before the start of your selection, so a clip may begin a second or two earlier than you selected, but never later. If the selection reaches past the end of the source clip, it is trimmed to what the source covers.
The file is named after the camera, the time it starts and its length, and it is saved in the decoder's clips folder.
Exports
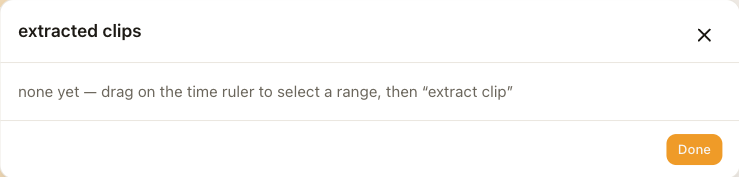
The exports button in the header lists every extracted and live-saved clip. From there you can open a clip, download it, or delete the file. To see an extracted clip on the timeline, drop it back into the decoder like any other clip.
Clip contents
Every frame carries the live values, so any clip decodes them. The rest, meaning the record names, the state labels, the recent history and the signatures, rides in the carousel and takes a few seconds to cycle through. A clip of a few seconds may show values without names. A clip of a minute or more carries the full context. Select a little more than the moment itself.
Sharing
A clip opened in another decoder shows the same values, trends and trust band. It survives email, chat tools and video platforms as long as it is not cropped. See Recording for what the DataBorder survives.
CSV export
Open decoded data, choose full history, pick a tag and a window, and choose CSV. This exports the camera's stored history for that tag. Depending on the tag's kind, the export contains buckets, runs and hourly totals, or string changes.